As I have already recounted (at least once) in 1979, on my return to Oxford from London, I accidentally co-founded a band you’ve never heard of called One for the Wall. We never got a recording contract but it was fun while it lasted. We went our own ways a few years later, but – implausibly – reformed in 2013. That’s a gap of a mere three decades.
Since 2020, I and three of the original members have recorded and published two albums of new, original material, with another coming in a few weeks. You can listen to some of the tunes on our website, although the finished CD quality will be better. Honest.

Recently a friend asked me how we work, given that we are strewn from London to Exeter: a good question. In the (probably deluded) hope that it may be of interest to someone who wants to record and share music without spending a lot of money, I’ve written a post about it. It may not sound a very efficient MO, though it has worked well for us.
***
The first stage is for Bernard, who writes all our material, to email the rest of us a demo when he has a new song that he’s satisfied with. Fairly satisfied, that is. We all have a listen, generally send words of encouragement, and ask him to send what bassist Andrew refers to as a “crib sheet”- i.e. the words and chords.
The next step is to find a weekend to meet and play the new songs. We use a rehearsal studio in Cumnor, near Oxford – only Bern lives in Oxford but it is relatively convenient for everyone. We record ourselves on a MacBook using Andrew’s own high-quality gear. All we need is the space, our instruments and a few creature comforts, such as a kettle and a fridge.
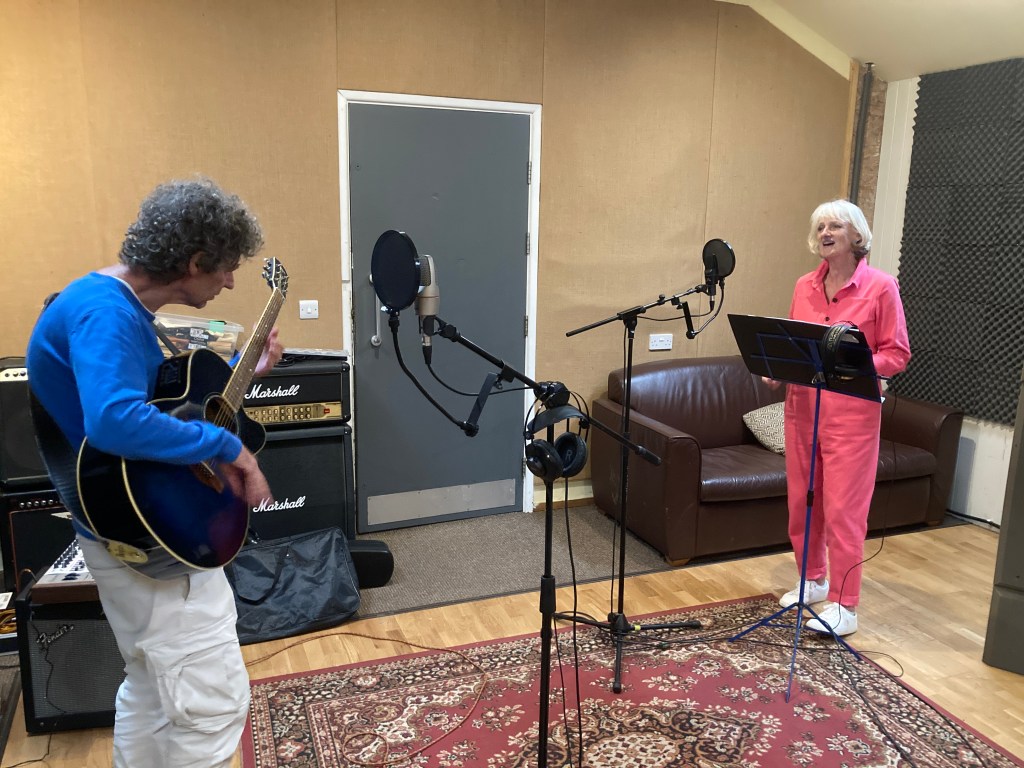
At this point there will be a lot of experimentation, discussion, and sometimes a new chorus or a change a key! Everybody is free to contribute. If we are lucky, we will come away with one or more acceptable takes of each new song. Usually that won’t happen at our first run-through; and the next time we can all get together again may be months later.
Andy will prepare rough mixes of anything promising and email the results to everyone. Once we can agree on a take that we like – which invariably means our drummer, Chris, has done his job well – the home recording comes in.
***
The Covid pandemic made a lot of people think about how they could continue to participate in a group enterprise without physically meeting. Musicians, in particular, were using Zoom just to maintain their sanity. Even though we no longer have a lockdown, home recording is now well-established and makes a lot of sense. If, on reflection you are unhappy with the guitar part you recorded with the band in the studio, have another go. And another and another. You don’t have to worry about the others sitting around yawning. As long as every effort is recorded on a separate track you should be able to achieve what you want after a bit of practice. Then you do a rough mix with your new recording/s added and email the song to everyone else for reactions.
You hope to get the thumbs up
Now, and this is crucial, someone has to be in charge (from a technical standpoint), because only one person can control the different iterations and the latest approved mix – as well as any earlier versions you might want to revisit. Imagine that everyone is doing the same as you and re-recording their parts separately? You need to appoint a chief engineer, preferably one of the band if they have the skills. They will have a job on their hands correcting little slips here and there, maybe taking verse 1 from take A and verse 2 and 3 from take B. etc. It may be a Frankenstein’s monster of a mash-up, but in the end the chances are that your audience will never notice. So much for the principles.
What does home recording involve?
You don’t have to be an IT genius and you don’t have to spend a fortune. There are lots of options, but I am merely going to explain what I do. Having a spare room is a good start. You can turn a spare bedroom into a temporary recording studio, without it ceasing to be your spare bedroom.
***
I am assuming that you are already a musician (level of ability irrelevant!) i.e. you sing a bit or play an instrument. Or maybe your other half or your child does. In the olden days you would attach a microphone to your reel-to-reel or cassette recorder, and away you went, probably re-recording over the same tape to save money.
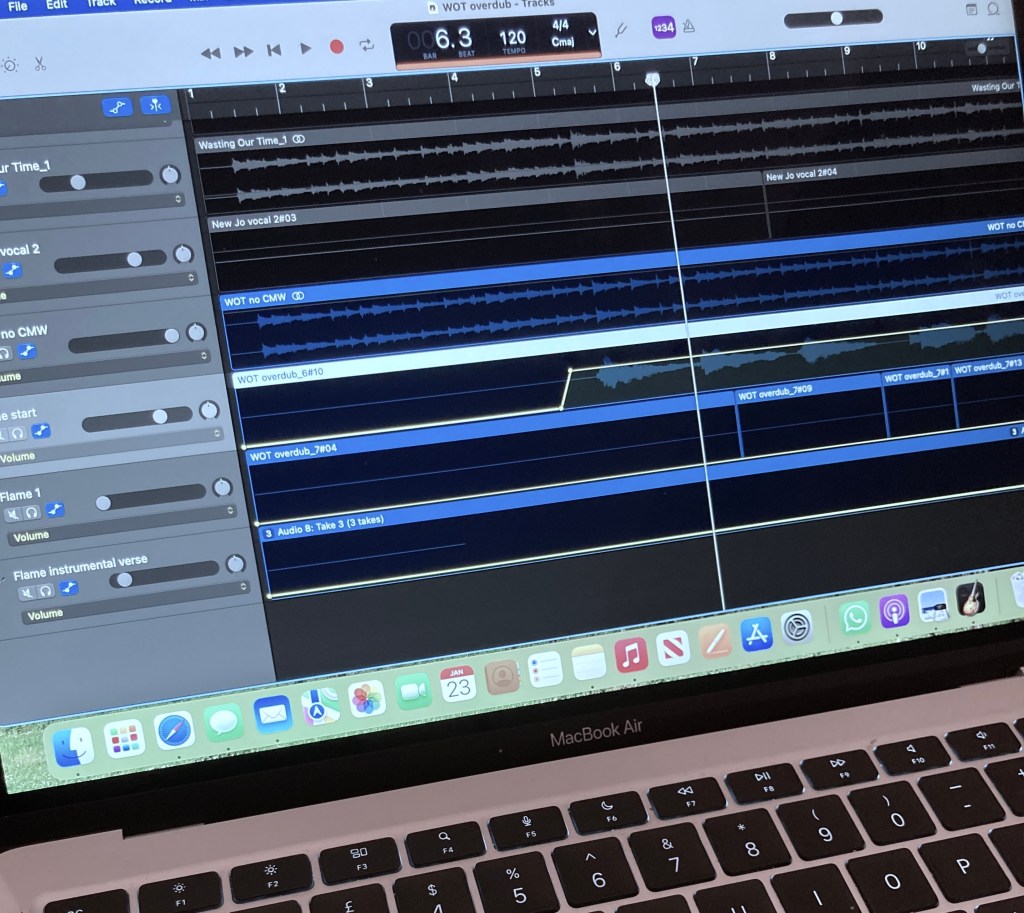
Very quaint, but you will get much better results with a computer. Not everyone has a laptop; you could use an iPad or even a smartphone, but I find that awkward. I have a MacBook Air, which comes with a free, pre-installed program (known as a Digital Audio Workstation (DAW) called GarageBand.
Unless you are a professional, or have aspirations to become one, this is all the software you will need. If you don’t have a Mac, or the necessary thousand quid for a new one, you can install an alternative program like Ableton, on a Windows PC. But you also need one other small, vital piece of hardware.
Computers only deal in digits
I am stating the obvious, perhaps, but you need to turn “analog sound” from a voice or a musical instrument (even an electric one) into “digital”. (Unless you are going to create music using only sounds already created by and for computers; though the results tend to be boring generic pop.) There is a clever little gizmo for that.
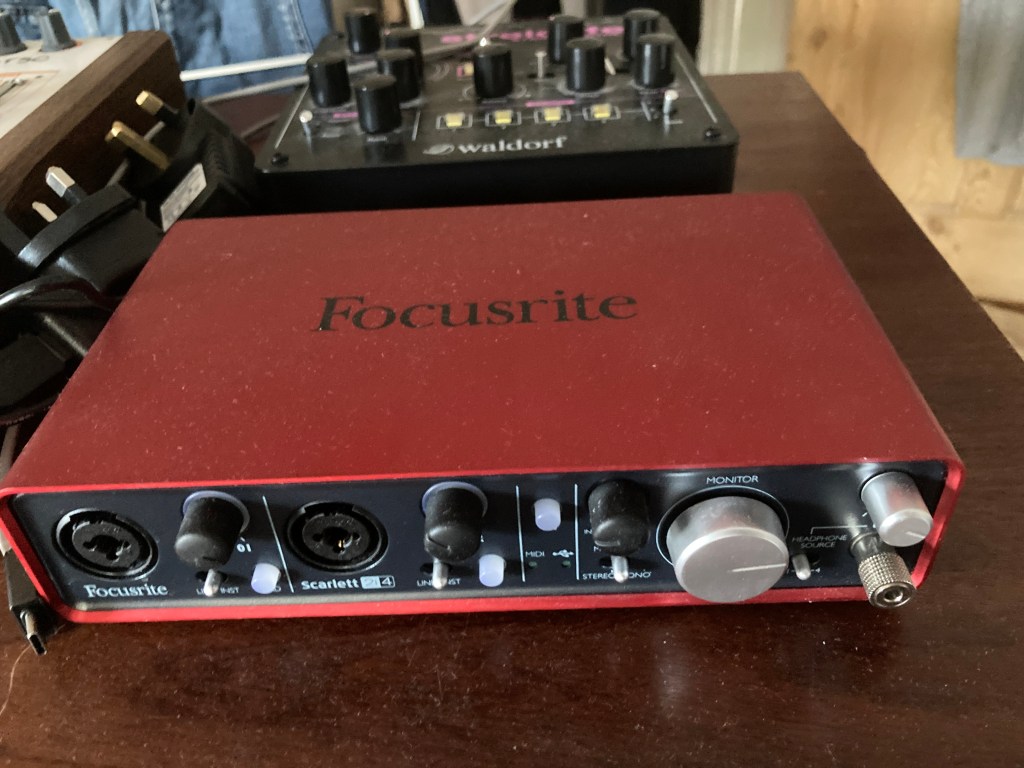
You must have an audio interface to plug your instrument/s into, with the output going into GarageBand or alternative “DAW” on your computer. Whether it’s a microphone, a guitar, a keyboard or whatever, you need that little box to convert the sounds that our ears hear into 0s and 1s. I have a Focusrite Scarlett with two inputs. The latest version costs just shy of £200, but you can get one second-hand on eBay for less. Get one with at least two inputs, because often keyboards have stereo outputs (left and right hand) that you will want to record on separate tracks at the same time.
If you are going to have more than two instruments at once – i.e. a live quartet – you may need a proper mixer, but I don’t. Many people would be happy just to record a guitar/piano and a voice. But we can overlay more tracks later, as long as it’s no more than two at a time. Each instrument is recorded to a separate track and you can keep on adding as many tracks as you want and mix them when you are finished. Mike Oldfield could have recorded Tubular Bells on a laptop much more easily!
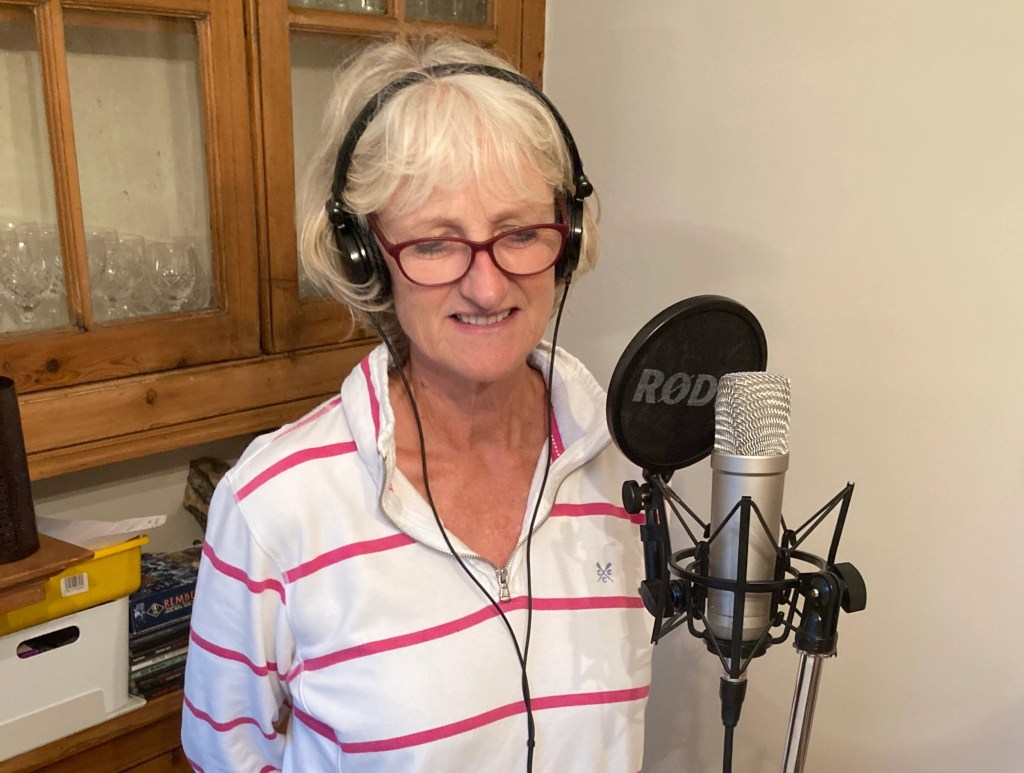
If you are going to record voices and/or acoustic instruments, including percussion, you will also need a microphone.
There are good affordable mics
One of the best for this purpose is the Røde NT1, which is versatile and costs less than £150.
So, that’s the hardware: a computer, a digital converter box (red, in my case), any musical instruments you may have, a microphone and some sort of stand for it, standard jack and XLR cables to connect everything up and, of course, headphones so that you can hear what you are playing while simultaneously listening to any tracks you might have recorded earlier.
All the recording gear, including my laptop, sits on an MDF shelf on top of a cheap folding stand.
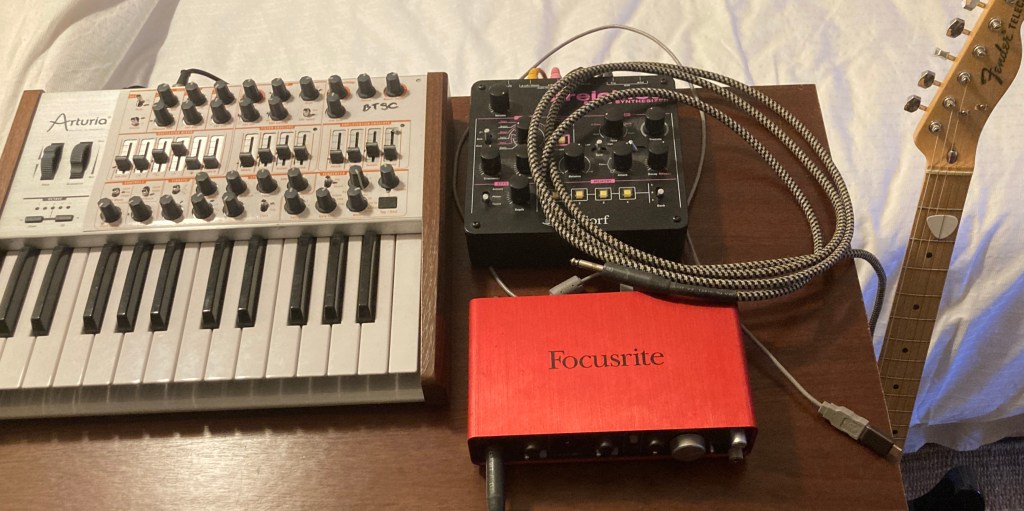
In this set-up I have an electric guitar plugged into the box, which will then be connected to my laptop via the grey USB lead you see at bottom right. I have a string synth and keyboard standing by for a later overdub.
If you have more space and more money, you could plug your laptop into an external monitor screen, though this only matters if you are going to have more than about 10 tracks for any particular song. Which I never do. For playback, I’m assuming that you don’t want to play while you’re recording to a group of people so one pair of headphones will suffice. If you get a headphone splitter adapter you can add more headphones. You don’t need monitor loudspeakers. My setup can be taken down in five minutes.
There is still one major issue…
You’ve got the software (free in my case), you’ve got the music and instruments and necessary hardware, but your environment can be a problem. It is more noisy than you ever imagined, with fridges and washing machines, people slamming doors, ringing phones, ticking clocks, neighbours, builders, dogs in the street, kids returning from school, passing cars and aeroplanes. That’s not a problem until you come to use your microphone. Obviously you are going to choose the best time of day, but for recording vocals you may have to move to the quietest room in the house, preferably with thick walls and no windows! If it’s the dining room, at least you’ll have a table to put your gear on.
I record electric guitars, keyboards, hand percussion and the occasional vocal. (Recording acoustic guitars and making them sound good is difficult, whilst recording a full drum kit is an art in itself.)
***
And finally, if you’re in a band or a choir and you want to share what you’ve done, you are going to have to send the results to other people. You should save your tracks as high quality (24-bit) files, so using a free service like WeTransfer is a good option. Finally, as I have said, someone will have to mix it all together – which can be quite demanding, depending on what you want to achieve.
In this aptly-named example from the band, we originally thought we had made a good studio recording. Subsequently we decided to re-record the piano, then the vocals, and finally the guitar! Why not? Once the album is pressed it’s too late to say “I wish we’d had another go”.
Nonetheless you have to know when to stop
In my youth professional-quality magnetic tape was very expensive, and we used up a lot of it at 15 inches per second. Not so these days, so do have a go. If the results are not a disaster put it on YouTube, creating a video by adding a few images. But the joy, for me, comes from creating something. I actually enjoy the recording process almost as much as playing.
I think that will do for starters. If you are not already bored rigid you can read much, much more on this website.
